Chapter 1: Installation and First Launch
Continuing from Chapter 0 — What is MNELAB?.
This chapter gets MNELAB open on your screen.
Installing MNELAB
The simplest route on any platform, once you have uv installed (the same tool this repository's own setup uses):
uvx mnelab
This downloads and runs MNELAB in an isolated environment without touching your existing Python setup. Alternatives: a standalone installer for macOS or Windows (no Python required at all, available from MNELAB's GitHub releases), or on Arch Linux, yay -S python-mnelab from the AUR. Whichever route you use, launching it opens the same empty main window.
The main window, empty
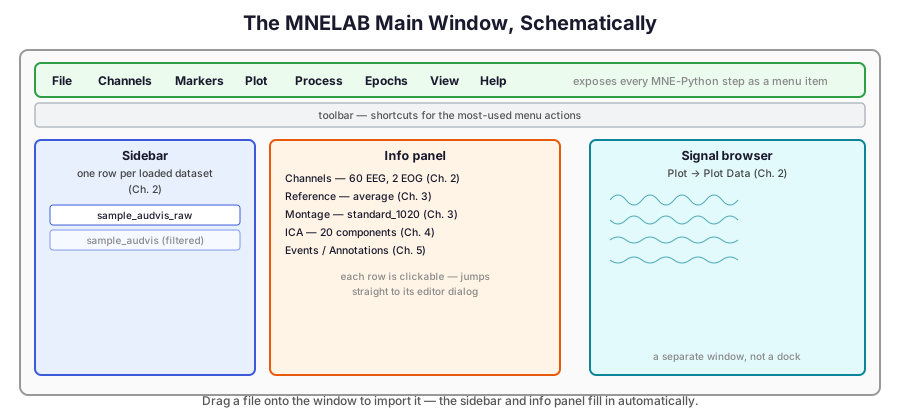
Before anything is loaded, the main window shows:
- A menu bar with eight menus — File, Channels, Markers, Plot, Process, Epochs, View, Help — most of their items grayed out until a dataset is open.
- A toolbar underneath it with icon shortcuts for the most common actions.
- An empty sidebar on the left, which will list one row per dataset you load.
Each later chapter in this guide works through one or two of those menus in turn — Channels and Process in Chapter 3, Process again (for ICA) in Chapter 4, Markers and Epochs in Chapter 5, and Plot throughout.
Importing your first file
The fastest way to load a recording is to simply drag the file onto the main window — MNELAB picks a matching reader automatically. The next chapter does exactly that with the same sample recording the MNE-Python track's Loading and Inspecting Data chapter uses, so you can compare the GUI's view of it against the code-based view you may have already seen.